Ore Factory Squad Elevated & Buffer Belt Layout Guide
Plan raised Elevated and Buffer Belt routes with current Merge, Splitter, and turn-piece limits, then verify each handoff in your factory.
Quick answer
Use Elevated Belts to move a connection above the floor, a Buffer Belt to isolate where a backlog appears, a Merge Belt to bring inputs toward one direction, and a Splitter Belt to direct selected items toward different paths. The official v1.0.9 mechanic source adds Merge, Splitter, and left/right turn pieces to raised Elevated Belt sections. The older v1.0.6 announcement is the historical source for Elevated Belts, Buffer Belts, and Belt Line Mode. Neither announcement publishes a universal throughput, buffer capacity, spacing rule, ratio, or best layout.
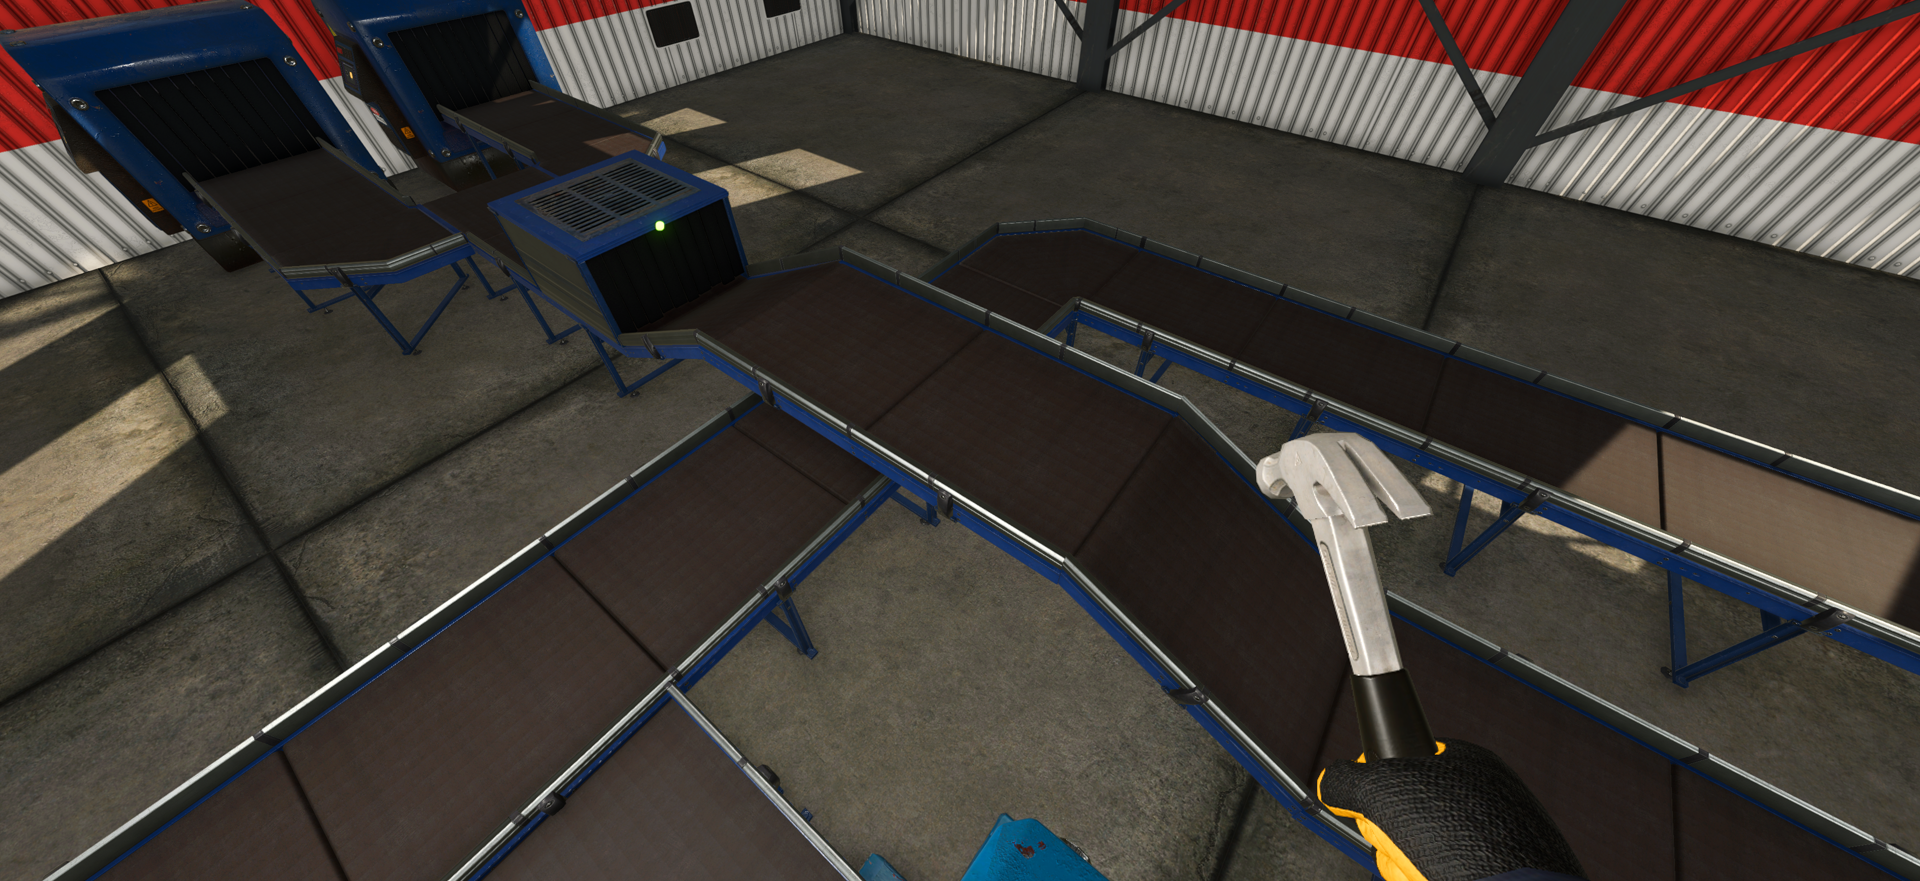
Choose the smallest next test
| Your observed need | Start with | Verify in the current build | Do not infer |
|---|---|---|---|
| Bring two visible inputs toward one direction | A Merge Belt on a raised section | The two intended inputs and the downstream direction | A fixed rate, priority, or a best merge ratio |
| Send selected items toward different paths | A Splitter Belt | The selected item and each intended downstream route | Every item/filter combination or a guaranteed balance |
| Change direction on a raised route | A left or right elevated turn piece | The next physical connection and item movement | Exact spacing or clearance for every machine |
| Find where a backlog begins | A Buffer Belt checkpoint, if present in the current build | Which side is arriving and which side is not leaving | A published capacity or a cure for every blockage |
| Keep a connection off the floor | An Elevated Belt section | The route is physically connected and observable | A universal “best layout” for every property |
The first three rows use feature names documented by the v1.0.9 mechanic source. The Buffer Belt and Belt Line Mode names come from the historical v1.0.6 source.
Confirm their behavior in your own build before relying on an old screenshot or guide.
Raised-piece mechanic boundary from v1.0.9
The official v1.0.9 announcement says that Merge Belts, Splitter Belts, and left/right turning belt pieces can be used with Raised / Elevated Belt sections. That is enough to plan a small local proof in your installed build: make one source-to-destination path, add one feature, and observe the result before expanding it.
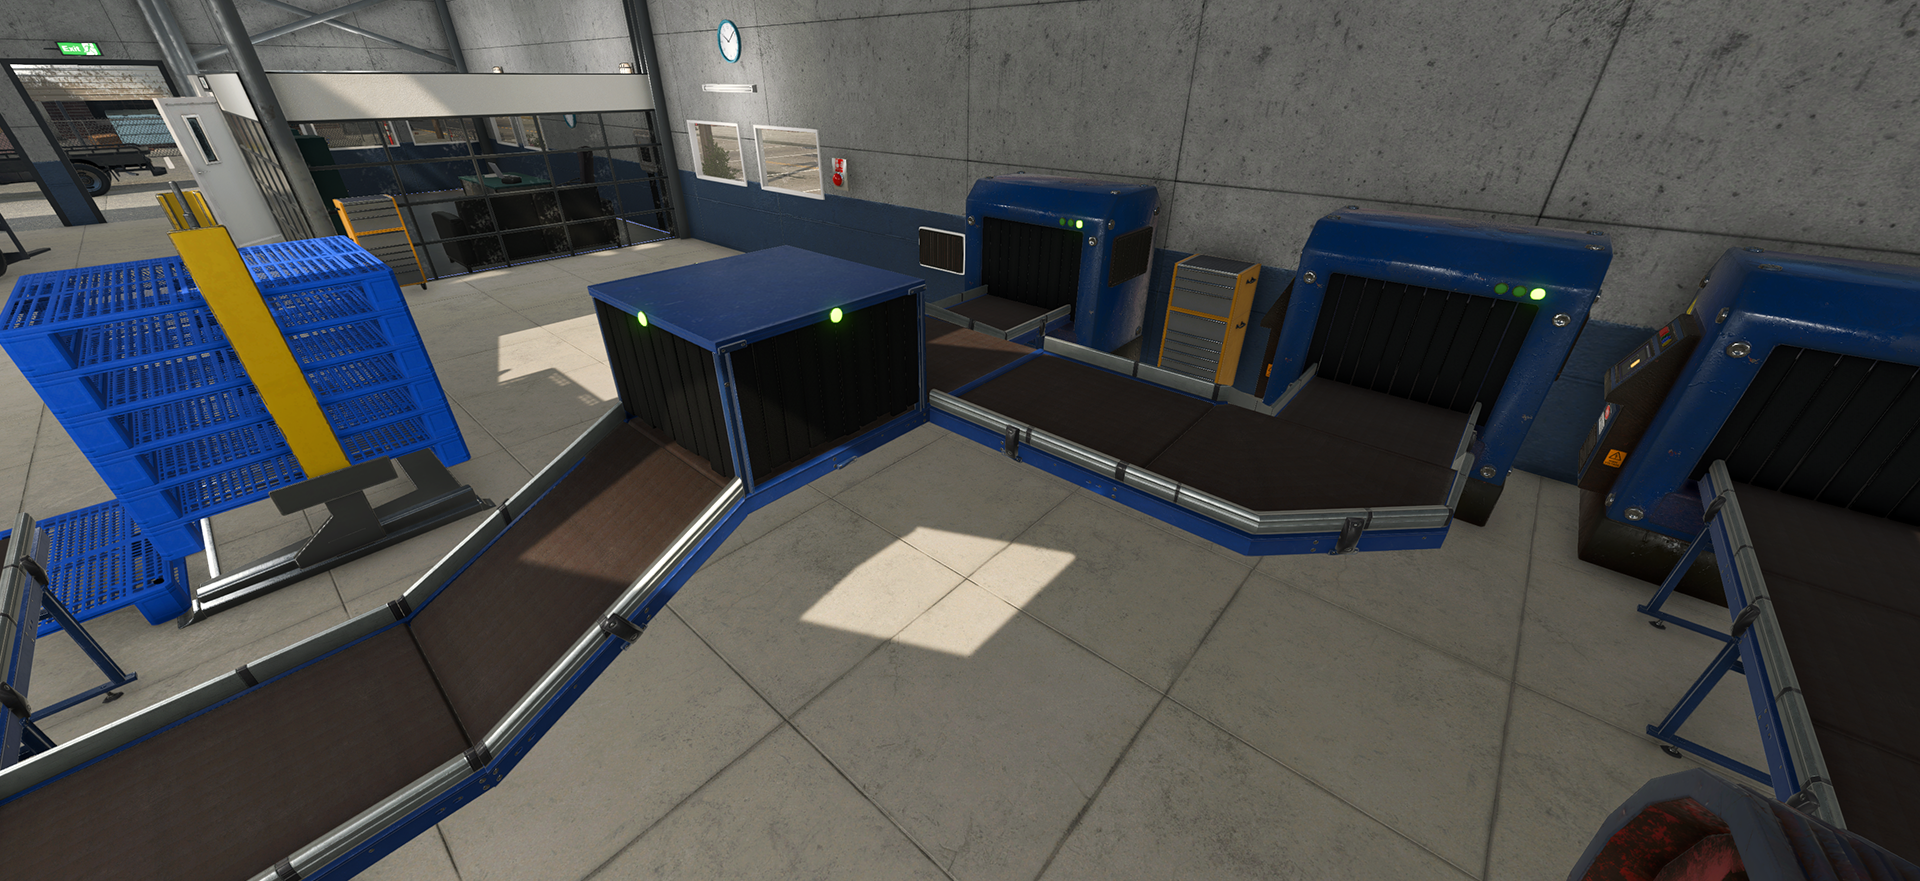
Historical Elevated, Buffer, and Belt Line Mode context
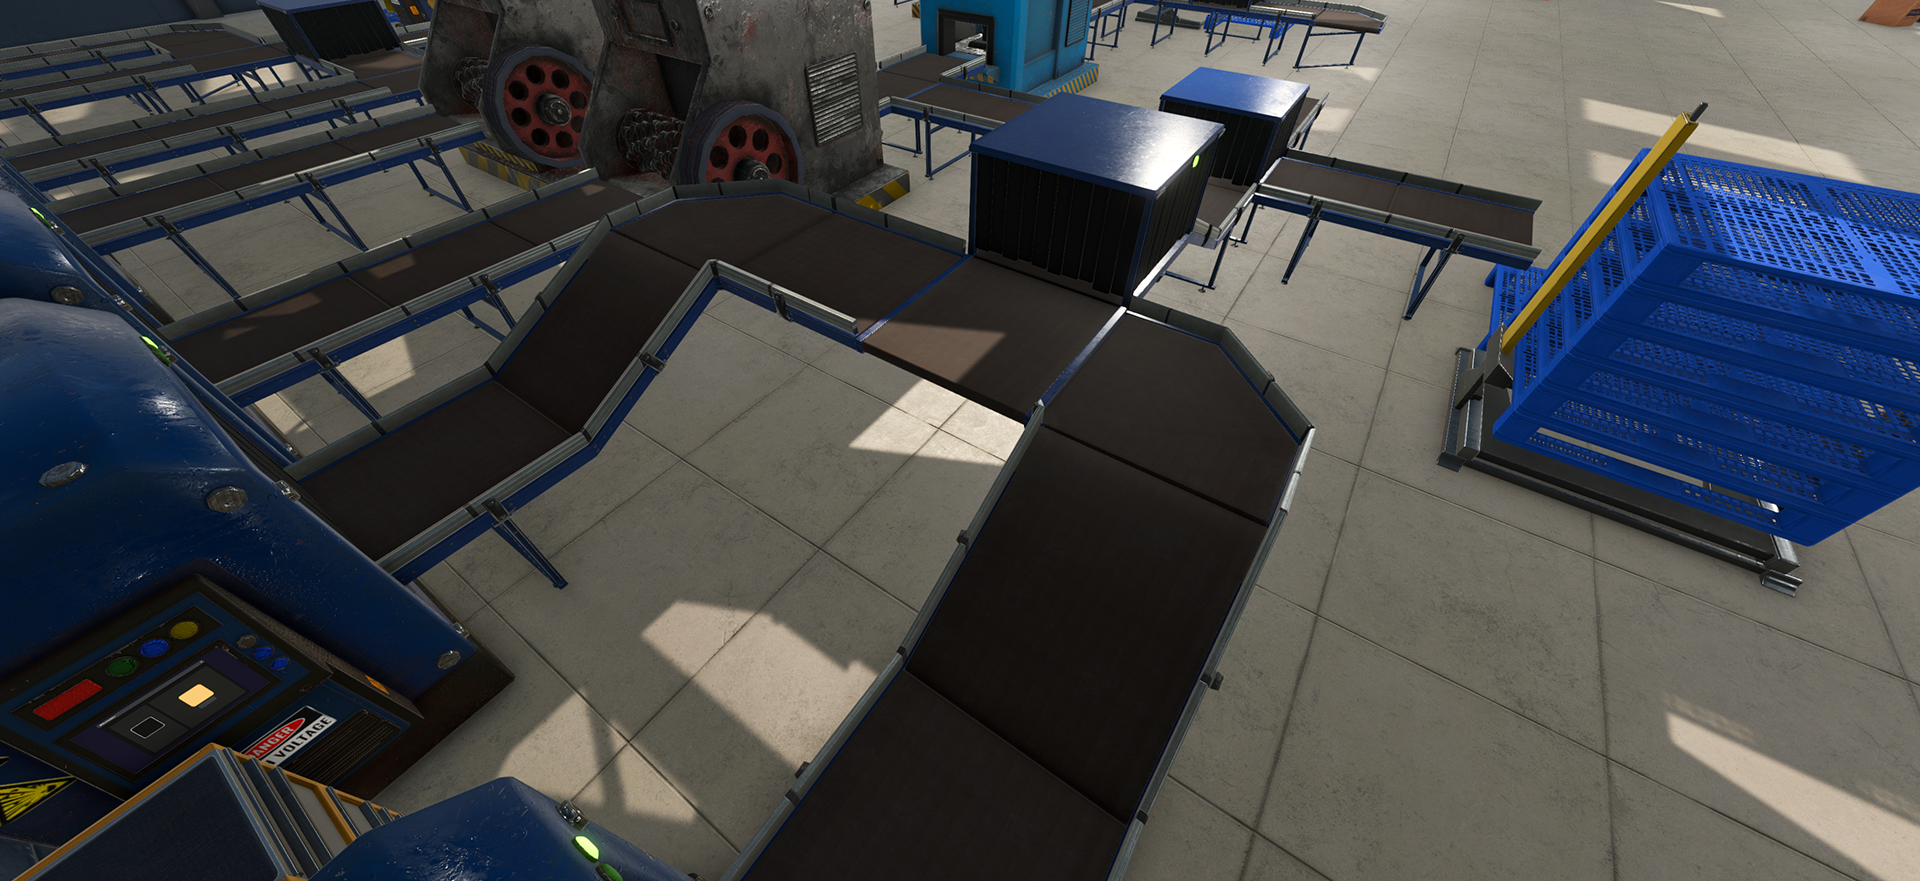
The official v1.0.6 announcement introduced Elevated Belts, Buffer Belts, and Belt Line Mode. Use that release as the origin of the terms and the official media, not as a current capacity or placement specification. The screenshot below shows a historical buffer-and-conveyor scene; it must not be read as a current inventory limit or a required arrangement.
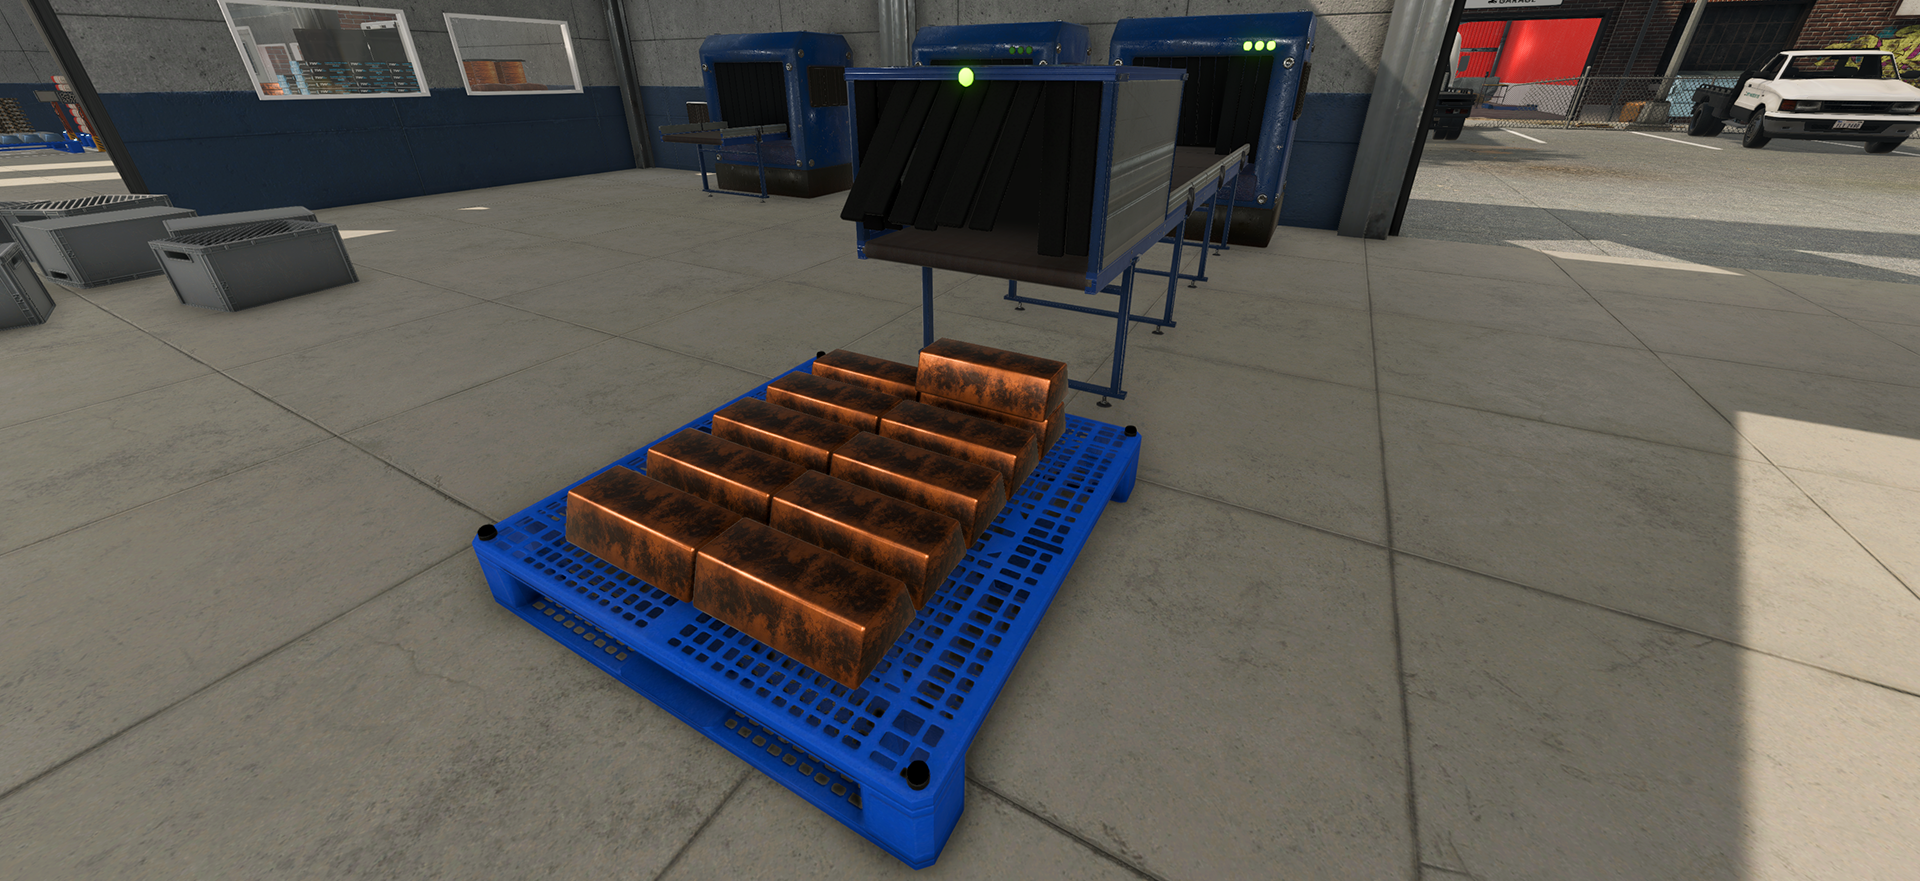
Diagnose a blockage without guessing a universal layout
- Start at the first item that is visibly not reaching its intended next point.
- Check the immediate physical connection before changing filters, layouts, or more than one piece at a time.
- If two sources should join one observed direction, test the Merge Belt alone; if selected items should separate, test the Splitter Belt alone.
- If the raised route turns, confirm the left/right piece points toward the exact next segment.
- If a Buffer Belt is in the route, note whether the arrival side or departure side changes during one small test. Do not turn an old screen value or a creator comment into a capacity claim.
This keeps the general conveyor bottleneck guide focused on broad automation faults while this page handles raised and buffer-layout questions. For floor-wide planning, compare the practical factory layout guide only after the one-route proof works.
Historical video observation: visual aid only
MakPlayGames4u at 00:13 visibly demonstrates a Merge Belt bringing left and right inputs toward one direction, while the segment at 01:05 shows a Splitter selection workflow. These are historical observations from a video with auto captions, not official mechanism documentation or a current version guarantee.
The later creator statement about a single Storage output is intentionally rejected: it begins after 01:31, is not independently current-version verified, and is not used as a limit on this page.
Related guides
- Solve general automation faults with the conveyor bottleneck guide.
- Compare modular floor planning in the practical factory layout guide.
- Keep Warehouse Robot handoffs separate with the Warehouse Robot and Pallet Dispenser guide.
- Check packing objectives in the contracts and Pallet Packer guide.
- Browse the full Ore Factory Squad guide index.
Sources and limits
- Official v1.0.9 raised Elevated Belt additions
- Official v1.0.6 Elevated Belt, Buffer Belt, and Belt Line Mode announcement
The v1.0.9 mechanic source supports the named raised pieces. Older media and the auto-captioned video provide historical context only. This guide does not assert a belt speed, throughput, buffer capacity, spacing measurement, item ratio, Storage-output limit, or universal best layout.