Ore Factory Squad Beginner Guide: Level 1-5 Factory Setup
Start here: build one complete mining-to-sale loop before buying optional machines. Move a packed mining box through the Sorting Station, make one finished product, then use Stock Sell or a feasible Contract.
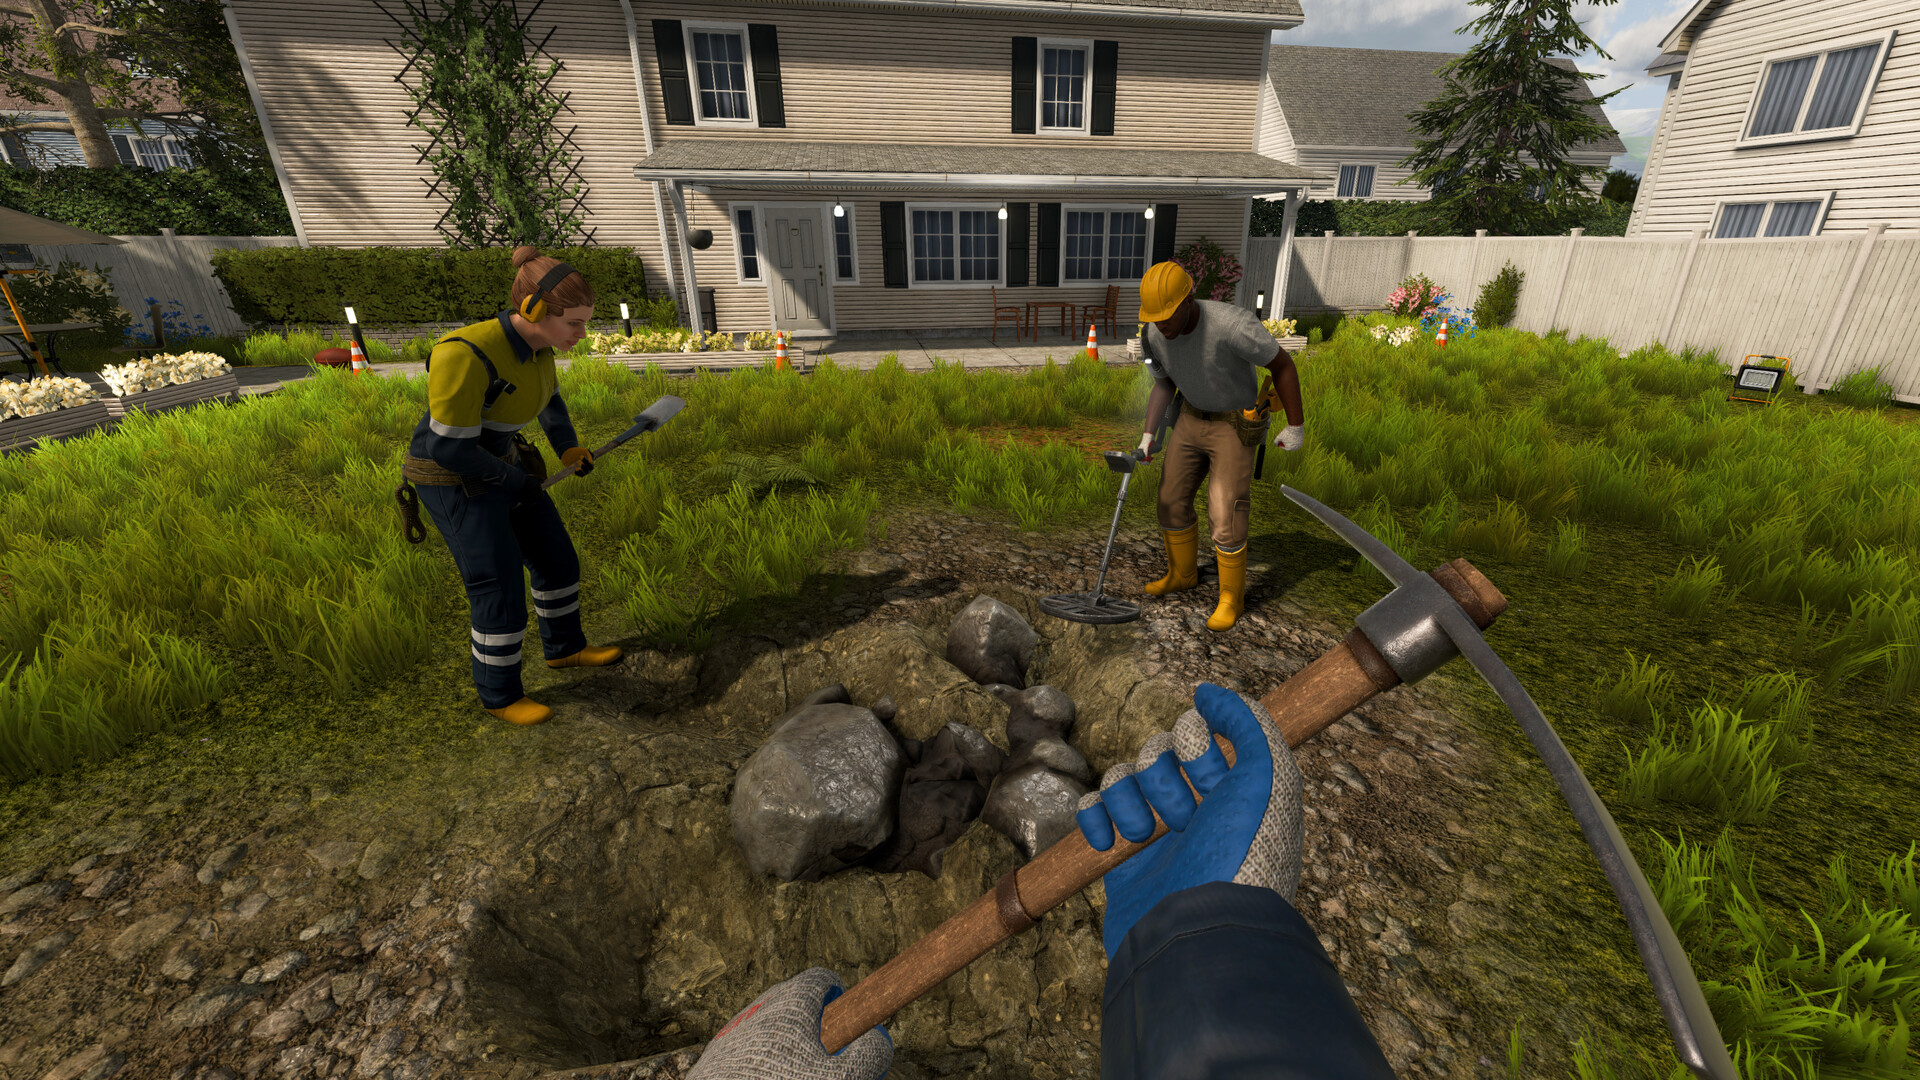
Do the tutorial once; skip it on later saves. v1.0.9 only offers Tutorial Skip after a previous save has completed the tutorial. On your first run, use it to learn the Sorting Station and finish one complete mining-to-sale loop.
The safest opening in Ore Factory Squad is not to buy every machine or empty the first property. Build one complete loop first:
Buy a starter property
      ↓
Complete the tutorial mining target
      ↓
Return a packed mining box
      ↓
Sorting Station → Factory Storage
      ↓
First production machine
      ↓
Finished product pallet
      ↓
Stock Sell or Contract
      ↓
Upgrade the current bottleneck
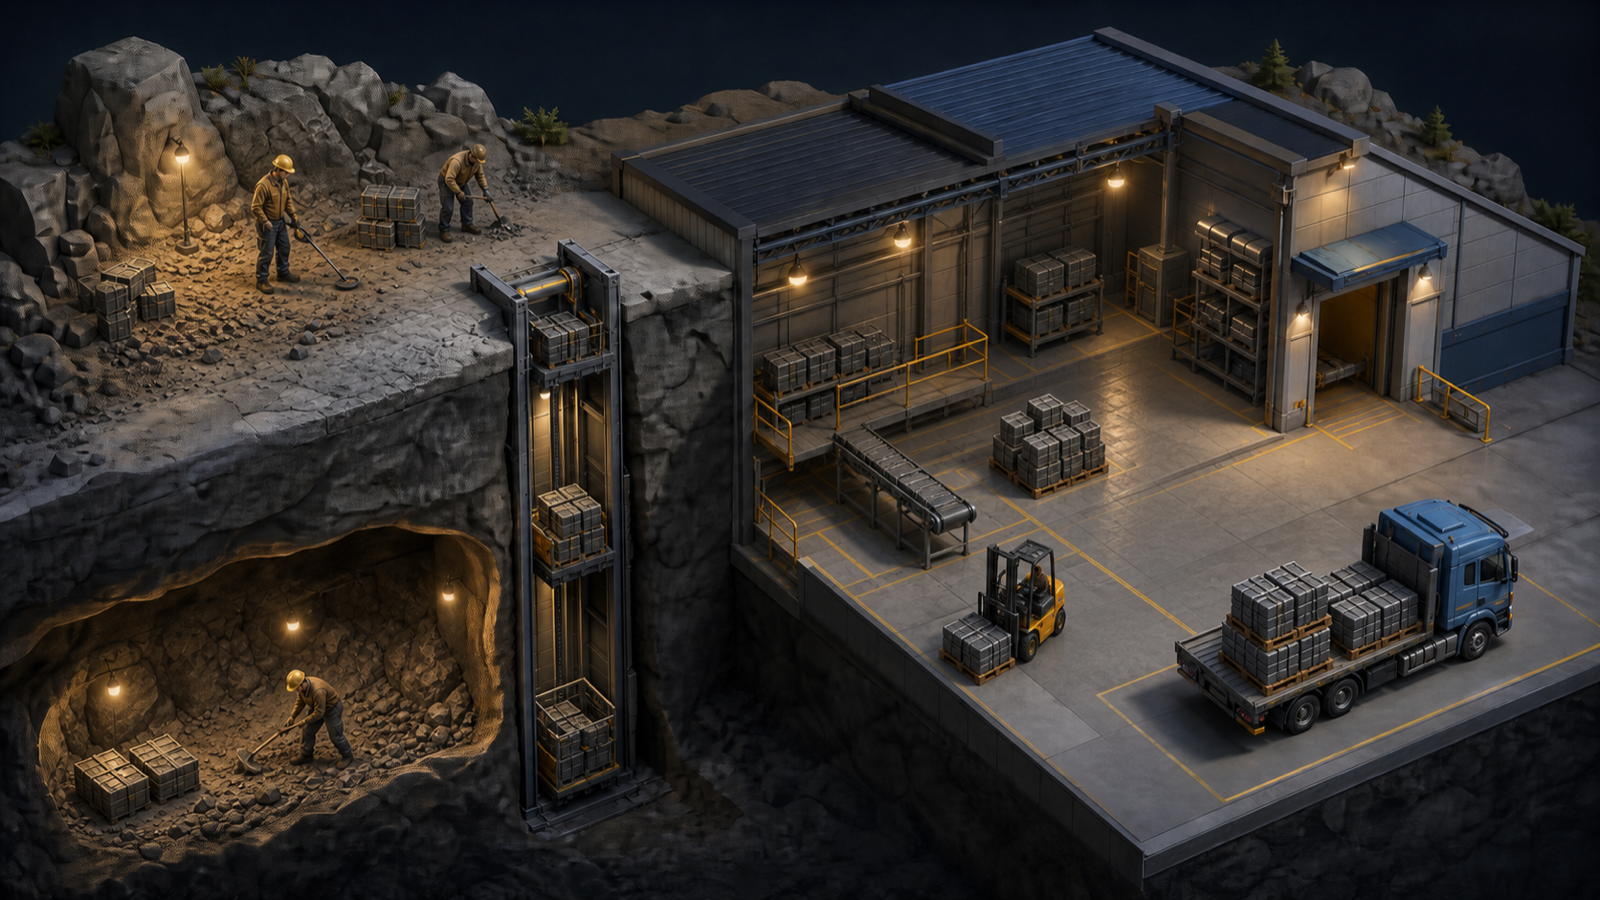
Once every handoff works, expanding the factory becomes much easier to diagnose.
QABest First Setup: 10-Point Checklist
- Follow the warehouse tutorial until the Properties interface is available.
- Buy a basic-material property such as the Greenpark listing used in the tested run.
- Collect the tutorial’s requested 12 resources and return instead of clearing the entire site.
- Unload the packed mining box through the Sorting Station.
- Confirm that the raw material entered internal Factory Storage.
- Use the tutorial Stone Crusher to make the first finished product.
- Place the product pallet fully inside marked storage.
- Complete one Stock Sell, then choose an achievable Contract.
- Buy tools, a Mining Lift, a License, or another property only when it removes the next bottleneck.
- Treat Level 4 and Level 5 unlock screens as options, not a shopping list.
STEP 01Buy the First Useful Property
The starting direction is a small Suburban/backyard dig site. In one launch-week save, the tutorial route used Greenpark Lot.
That listing supplied basic materials including:
- Stone;
- Clay;
- Sandstone;
- Limestone;
- Coal.
Property contents and prices are procedural or listing-sensitive. Do not assume every Greenpark purchase starts with identical quantities or that a price from one save is universal.
The first property only needs to support the opening loop. You do not need Copper, Iron, Gold, or Diamond before the warehouse can process basic materials.
Complete the tutorial target first
The documented tutorial asked for 12 resources.
Once that target is collected:
- pack the material into a mining box;
- place the box on the available vehicle;
- return to the factory;
- continue the tutorial handoff.
Staying underground to fill every available space delays the systems that make the material useful.
Tutorial Skip eligibility in v1.0.9
The official note says the tutorial can be skipped when it has already been completed in a previous save. Do not use that line to assume a brand-new save can skip any current blocked objective; check the exact in-game option and keep the normal first-loop steps available if it is absent.
STEP 02Understand the Two Storage Systems
Raw mining cargo and finished products do not use the same storage path.
Raw resources
Packed Mining Box
      ↓
Sorting Station
      ↓
Internal Factory Storage
      ↓
Production Machine
Unload the returned box through the Sorting Station. Then confirm that its contents appear in Factory Storage before troubleshooting a machine.
Finished products
Production Machine
      ↓
Physical Product Pallet
      ↓
Marked Storage Area
      ↓
Stock Sell or Contract Planning
Finished Sand, Blocks, Cement, Ingots, and other products remain on physical pallets. A pallet beside a machine is not automatically tracked for sale.
STEP 03Build One Production Cycle
A launch-week tutorial run supplied a Stone Crusher for the first factory loop.
For a basic Sand test:
- confirm Sandstone reached Factory Storage;
- open the Stone Crusher;
- select the current Sandstone-to-Sand output shown by the UI;
- provide a valid product pallet;
- start the queue;
- watch the first finished product appear;
- move the finished pallet into marked storage.
If the machine remains idle, check:
- the box passed through the Sorting Station;
- the raw material appears in Factory Storage;
- the correct input and recipe are selected;
- the output area or pallet is valid;
- the queue was started.
Do not buy another machine until this cycle works.
STEP 04Complete the First Stock Sell
Stock Sell converts tracked finished inventory into immediate cash.
The required route is:
Finished Product
      ↓
Product Pallet
      ↓
Fully Inside Marked Storage
      ↓
Warehouse Computer → Stock Sell
      ↓
Check Stock, Demand, and Price
      ↓
Confirm Sale
A partial pallet can be sold. The complete Stock Sell and marked-storage guide covers missing products, daytime restrictions, Demand, and surplus decisions.
Stock Sell is different from Contracts. It does not use the Pallet Packer and does not satisfy an accepted order.
STEP 05Accept One Achievable Contract
Contracts connect the complete factory loop to cash and progression.
Before submitting an offer, check:
- every exact finished-product name;
- every required quantity;
- tracked finished stock;
- the machines needed for missing products;
- the deadline;
- the slowest unfinished stage.
Do not accept an order because its payout is large. Accept it because every product can be completed.
The tested delivery chain is:
Accepted Contract
      ↓
Select it in the Pallet Packer
      ↓
Supply exact finished-product pallets
      ↓
Keep Contract Output and Excess Output clear
      ↓
Load the completed delivery
      ↓
Delivery Gate
Use the Contracts and Pallet Packer guide for the full sequence.
STEP 06Buy the Upgrade That Removes the Bottleneck
There is no universal first purchase for every procedural save.
One launch-week route observed:
| Upgrade | Observed cost | Buy when |
|---|---|---|
| Shovel speed | $400 | Ordinary terrain takes longer than recovering the target resource |
| Pickaxe | $300 | Exposed Stone or ore is the slow stage |
| Detector | $500 | The property still contains a required material, but you cannot locate it |
| Backpack capacity | $500 | Carrying space repeatedly stops an otherwise working route |
| Jackhammer | $1,500 displayed | Repeated excavation is the long-term bottleneck |
These are samples, not permanent prices.
The correct decision order is:
Can I locate the resource?
  No → Detector or property check

Can I reach it efficiently?
  No → Tool upgrade or Mining Lift

Can the factory process it?
  No → Required License and machine

Can I move finished output?
  No → Pallet handling or warehouse automation

Can I sell or deliver it?
  No → Storage, Pallet Packer, or deadline fix
The upgrade and License guide covers Level 3–5 observations and the full decision tree.
STEP 07Use Remaining Resources Before Digging Blind
The surface can appear empty while useful materials remain in Mid or Deep layers.
Open the current property’s Remaining Resources view and check all layers separately.
Use:
- Remaining Resources to decide whether the search is still worthwhile;
- the Detector to locate the selected material;
- the Mining Lift to reuse a vertical route;
- the Pickaxe for precise recovery;
- Dynamite only for a confirmed obstruction or Secret Cave.
If a required material does not appear in any layer, more blind digging will not solve the production bottleneck.
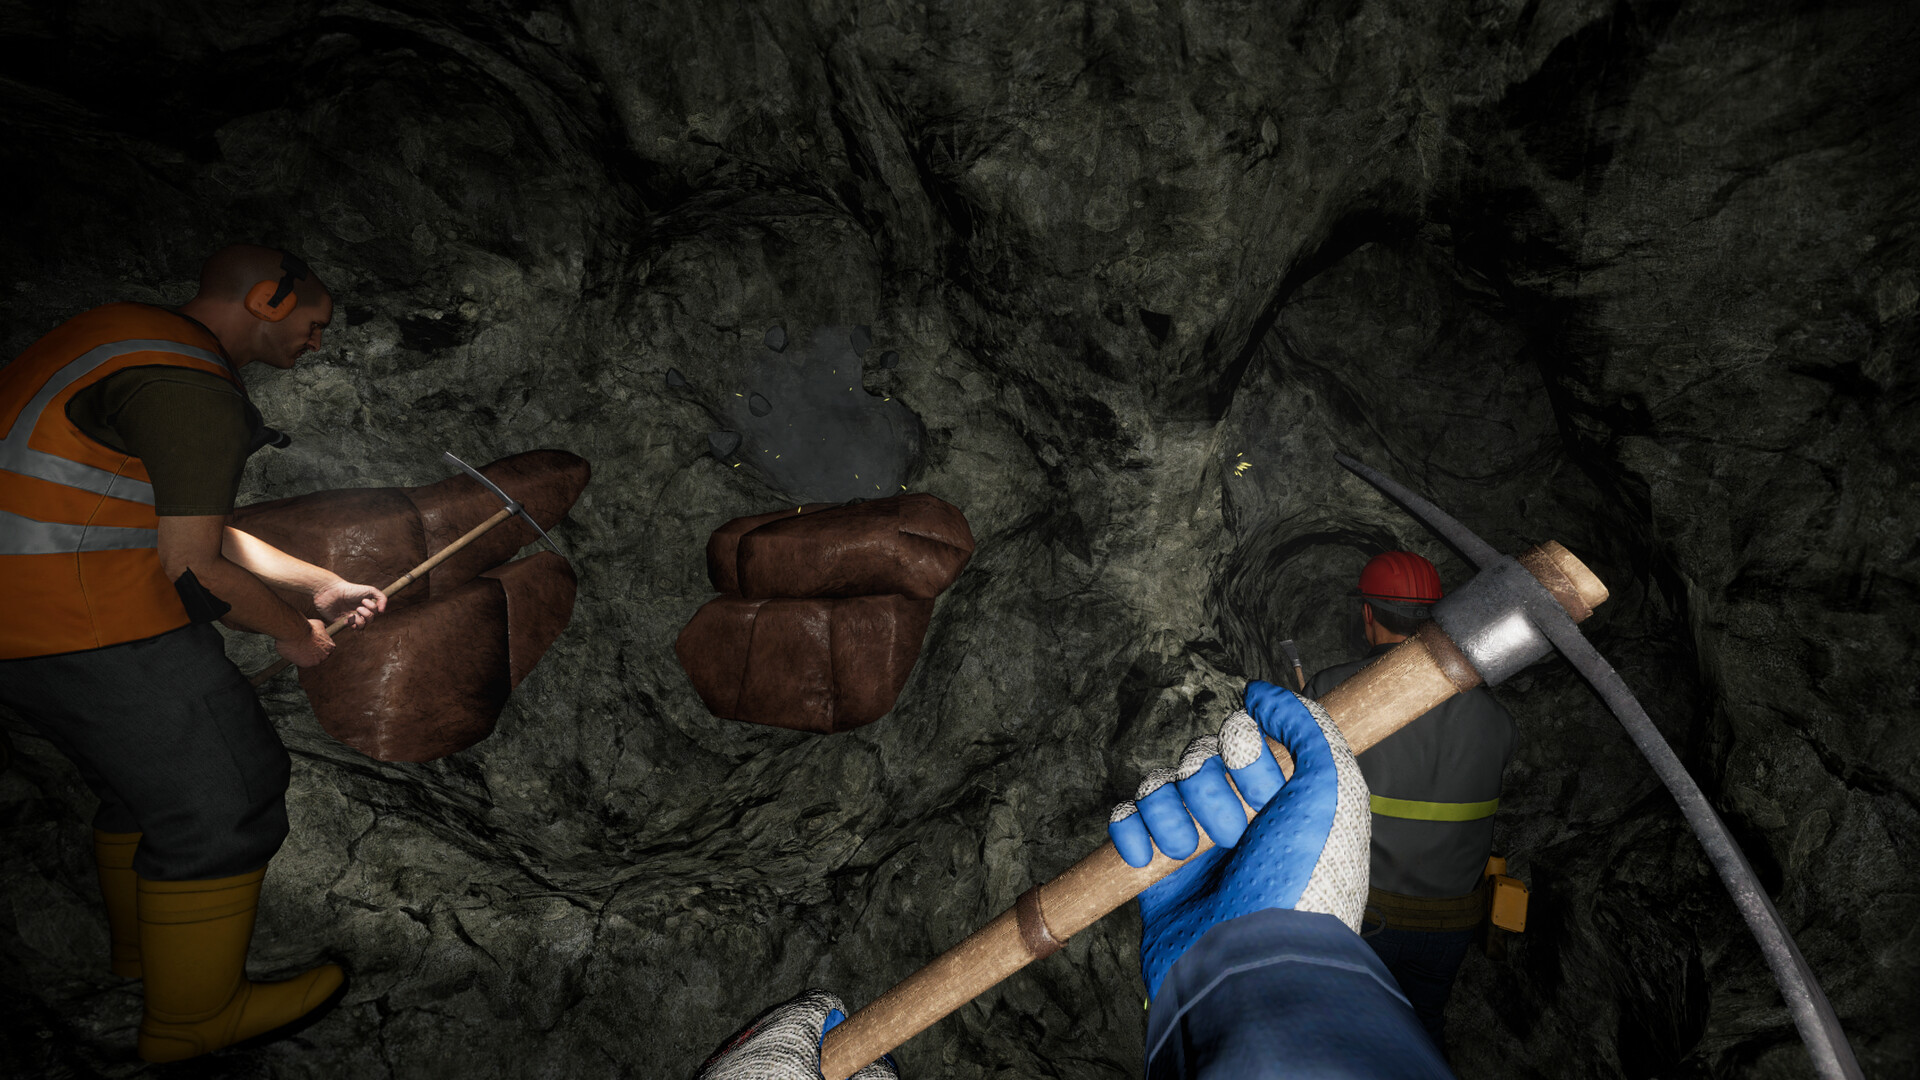
STEP 08Build the Mining Lift Incrementally
One tested Level 3 route used:
- Mining Lift Head: $25;
- Lift Extension: $10 each.
Those prices are version-sensitive.
The reliable build order is:
- place the Head near a clean property edge;
- face the ladder toward diggable terrain;
- clear one shaft section;
- add one Extension;
- test the ladder in both directions;
- add another Extension only when the current connection works;
- pack mining boxes underground;
- send the boxes to the surface;
- climb the ladder separately.
See the Mining Lift guide for blocked-ladder fixes and cargo handling.
STEP 09Change Property for a Resource, Not for Novelty
The tested early-game system allowed one Active Property.
Before removing the current site:
- read Remaining Resources;
- recover packed boxes;
- bring back useful loose materials;
- keep a reserve for current basic-product contracts;
- identify the exact resource missing from the next chain;
- confirm the replacement listing includes it.
Forest becomes relevant when Copper or Iron blocks first metal processing. It is not automatically better while the factory still needs Limestone, Clay, Sandstone, Stone, or Coal.
Use the property-switching guide before removing Greenpark.
STEP 10Treat Level 4 and Level 5 as Decisions
One launch-week route observed the first Copper and Iron stage around Level 4:
- Metal Processing License #1;
- Smelting Furnace.
At Level 5, the tested unlock screen included options such as:
- Metal Processing License #2;
- Warehouse Automation License;
- Factory Size expansion;
- another Pickaxe upgrade;
- Fabrication Station;
- Pallet Dispenser.
Do not buy the entire screen.
Choose Metal Processing when Copper or Iron already exists and Ingot production blocks progress. Choose warehouse automation when manual pallet movement is the actual bottleneck and the complete setup is affordable; use the Conveyor & Automation Guide to trace that flow before spending.
NOTENight and End Day
One launch-week test observed active machines continuing after dark during the same day. That does not prove a queue survives End Day or a save reload.
Before advancing the day:
- check every Contract deadline;
- finish a nearly complete queue;
- clear machine and Pallet Packer outputs;
- move finished pallets into marked storage;
- recover cargo that should not be left at the active site.
An active Contract with one day remaining expired when End Day was used in the documented run.
For a focused German checklist, use Tag und Nacht sicher weiterschalten.
AVOIDCommon Beginner Mistakes
Clearing the first property before unlocking the factory loop
Return when the tutorial target is complete.
Mixing internal storage and product pallets
Raw resources enter Factory Storage. Finished products remain physical pallets.
Accepting the largest Contract
Choose completion certainty before payout.
Buying one part of an expensive system
A License without the machine, material, output handling, and working cash may solve nothing.
Treating an empty surface as a depleted property
Check Surface, Mid, and Deep separately.
Using Dynamite for visible ore
Explosions reduce total resource yield. Use precise tools after access is open.
Buying a new property before recovering the old one
The tested early-game flow allows one Active Property, so prepare the switch.
CHECKFirst-Hour Checklist
- [ ]Tutorial mining target returned
- [ ]Mining box unloaded through Sorting Station
- [ ]Raw material visible in Factory Storage
- [ ]One production machine completed a correct output
- [ ]Finished pallet placed inside marked storage
- [ ]One Stock Sell completed
- [ ]One achievable Contract selected
- [ ]Pallet Packer outputs kept clear
- [ ]Upgrade chosen from a measured bottleneck
- [ ]Remaining Resources checked before deeper excavation
FAQFrequently Asked Questions
What should I do first?
Complete the tutorial mining target, return the box, prove the Sorting Station and first production cycle, then make one sale.
What is the best first factory setup?
Use one visible route: packed mining box → Sorting Station → one production machine → one finished pallet → Stock Sell or one achievable Contract. Add a second line only after every handoff in the first route works.
Should I skip the tutorial in v1.0.9?
Only when the save is eligible: the official v1.0.9 note says Tutorial Skip is available after you completed the tutorial in a previous save. It is not a general fix for a blocked tutorial objective.
What should I build before warehouse automation?
Prove one production cycle, keep its input and output reachable, and confirm the finished pallet enters the intended storage or dispatch route. Automation cannot diagnose an incomplete manual handoff for you.
Should I empty Greenpark before leaving?
No. Leave when its remaining materials no longer solve the next production need and the replacement is affordable.
Should I buy the Detector immediately?
Buy it when a known required resource remains but is difficult to locate. It does not fix a property that lacks the material.
Are Contracts always better than Stock Sell?
Contracts can provide strong rewards and progression, but an impossible order earns nothing. Stock Sell is useful for immediate cash and surplus.
Should I buy Metal Processing or Warehouse Automation first?
Choose the system that completes the next real cycle: Ingots when metal processing is blocked, automation when pallet movement is the dominant workload.
NEXTRelated Guides
Sources
- Ore Factory Squad official website
- Ore Factory Squad Steam store page
- Official v1.1.1 hotfix (current version status)
- Official v1.0.9 Tutorial Skip announcement
- Official announcements, patches, and roadmap
- Launch-week beginner progression test
- Launch-week Stock Sell test
- Launch-week Contracts and Pallet Packer test
- Launch-week Mining Lift test
- Game Launch Central launch-day tips video — auto-captioned topic-demand context only; exact prices, ratios, and universal advice are not used as current facts.
- Launch-week property-switching test