Ore Factory Squad Automation Guide: Splitter Belts & Pallets
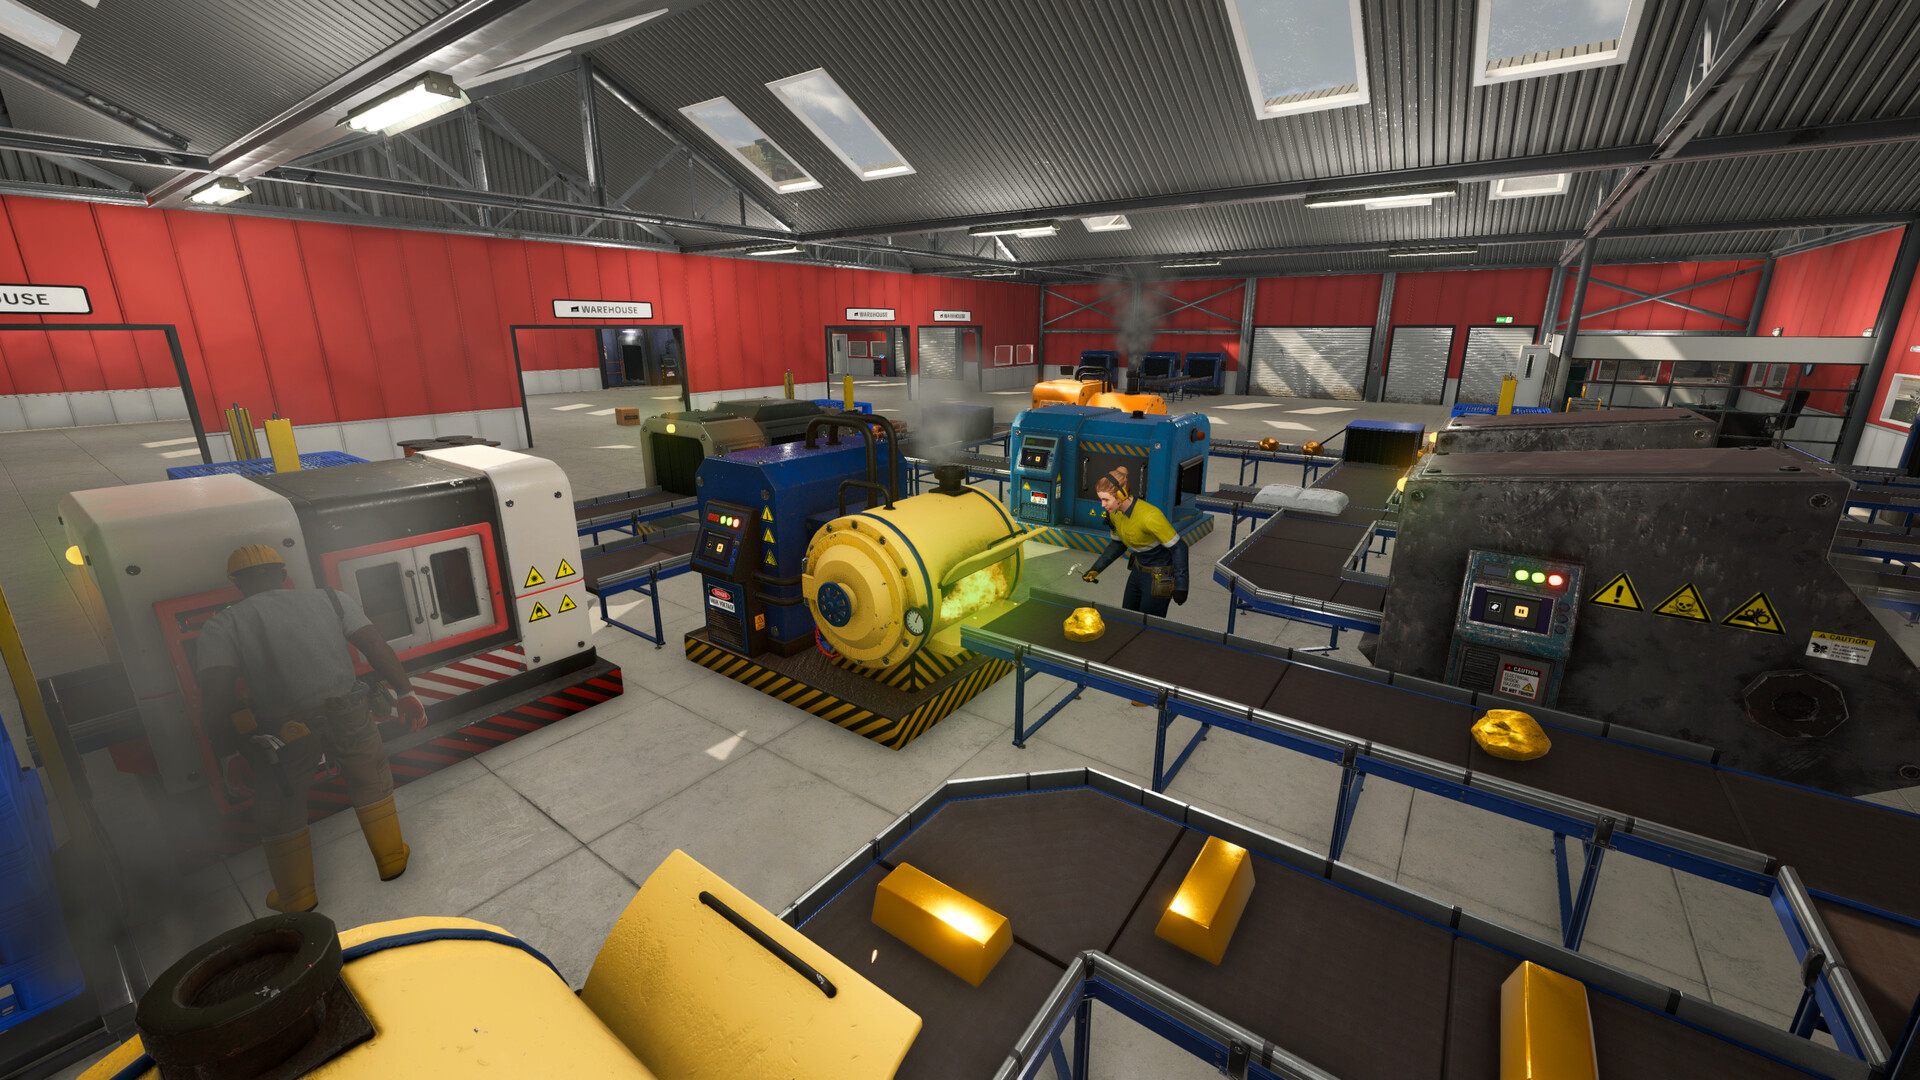
Fix one handoff at a time. Start at Storage Output, follow the exact belt branch through its filter, and stop at the first full or wrongly routed machine. The v1.0.9 belt mechanic source names raised Merge, Splitter, and turn pieces; they do not repair a bad filter or blocked output.
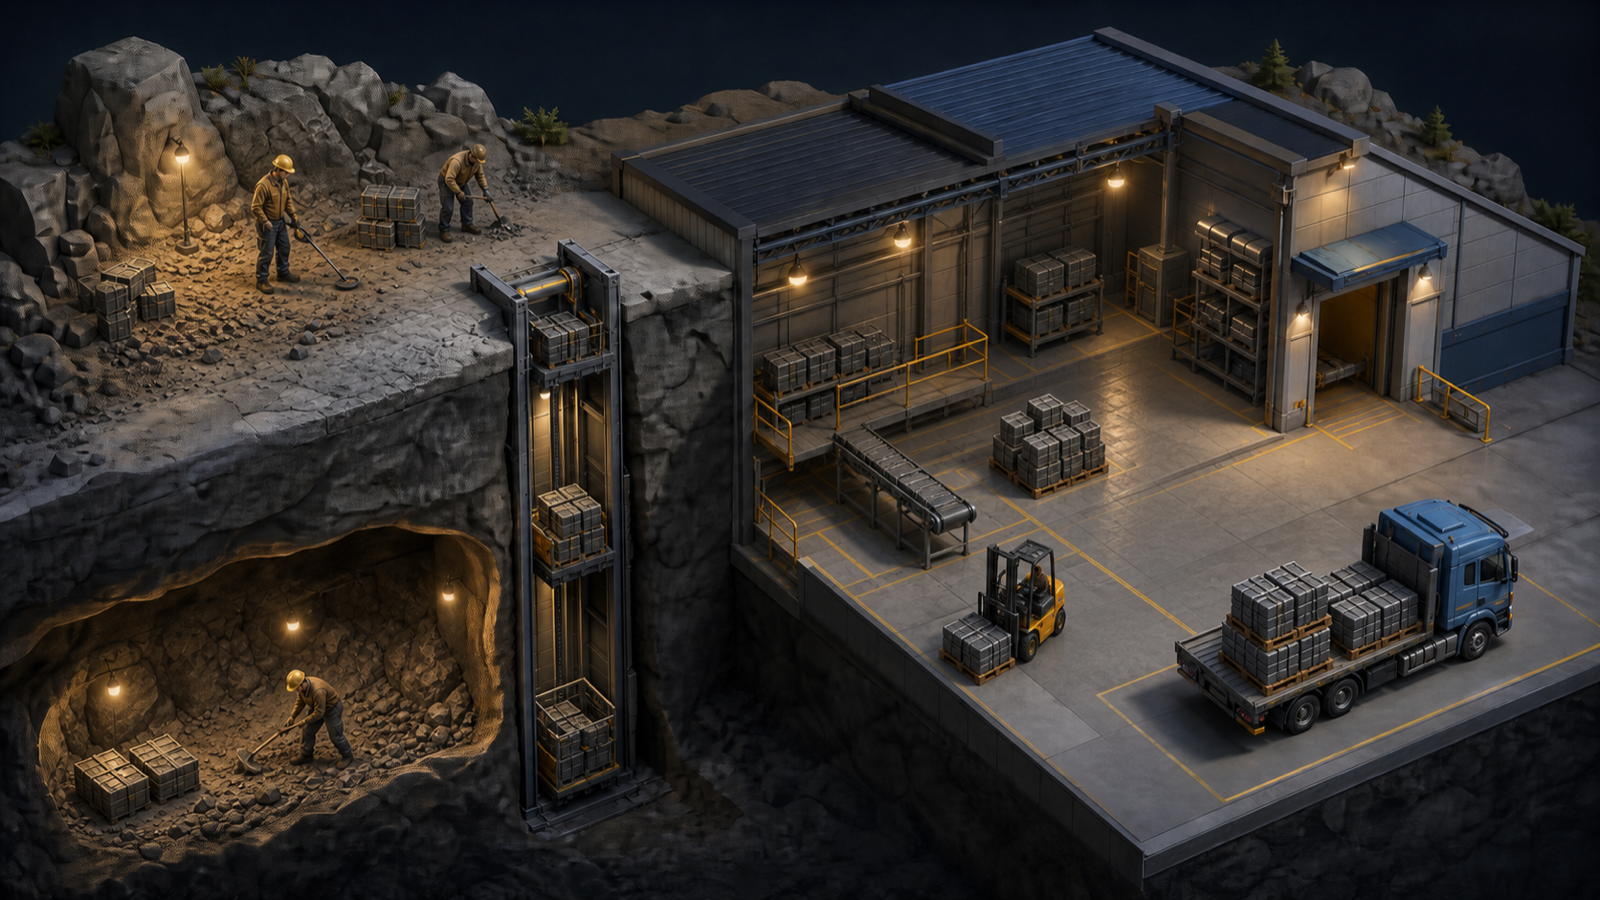
Automation in Ore Factory Squad is not one machine that turns a mine into a finished delivery. It is a chain of separate systems: resources enter factory storage, machines produce physical product pallets, warehouse equipment moves those pallets, and contracts use their own packing and delivery route.
The most important rule is therefore simple:
Build and test one handoff at a time. Do not connect an entire factory before confirming what each machine accepts and where its output appears.
QAQuick Answer
- Conveyors are current: the game officially supports conveyor-based production.
- Warehouse automation is current: the official
Full Automationachievement requires a Warehouse Robot, Palletizer, and Drop Zone in one working setup. - Warehouse Robots move pallets: the
No Human Hands Requiredachievement tracks 30 pallets moved by robots. - Contract packing is separate: accepted orders are prepared with a Pallet Packer, not a generic “Automatic Pallet System.”
- Smart filtering changed in v1.0.6: use toggles to allow or block multiple materials, and give robots filtered Drop Zones for clearer priorities.
- Raised belt pieces in v1.0.9: Merge, Splitter, and turn pieces can elevate a specific handoff; test each piece before treating it as a general clearance solution.
MAPHow the Confirmed Factory Systems Fit Together
The safest current model separates mining intake, production, warehouse automation, and contract delivery.
[ Dig Site ]
      │
      ▼
[ Packed Mining Box ]
      │
      ▼
[ Mining Lift → Surface Transport ]
      │
      ▼
[ Sorting Station ]
      │
      ▼
[ Internal Factory Storage ]
      │
      ▼
[ Selected Production Machine ]
      │
      ▼
[ Finished Product Pallet ]
      │
      ├──► [ Marked Storage / Stock Sell ]
      │
      ├──► [ Pallet Packer / Contract Output ]
      │
      └──► [ Warehouse Automation ]
             Palletizer + Drop Zone + Warehouse Robot
This is a system map, not a claim that every arrow can be replaced by a conveyor. Raw resources and finished products are handled differently:
- raw resources enter Factory Storage through the Sorting Station;
- production machines use the required stored inputs or physical product pallets, depending on the recipe stage;
- finished products remain on physical pallets;
- contracts require the exact finished product, not a related raw material or intermediate block.
New players should first understand the opening factory loop. For the complete underground route, use our Mining Lift guide. For delivery and cash flow, continue with the Contracts and Pallet Packer guide.
SPLITTERSplitter and Drop Zone Filters in v1.0.6
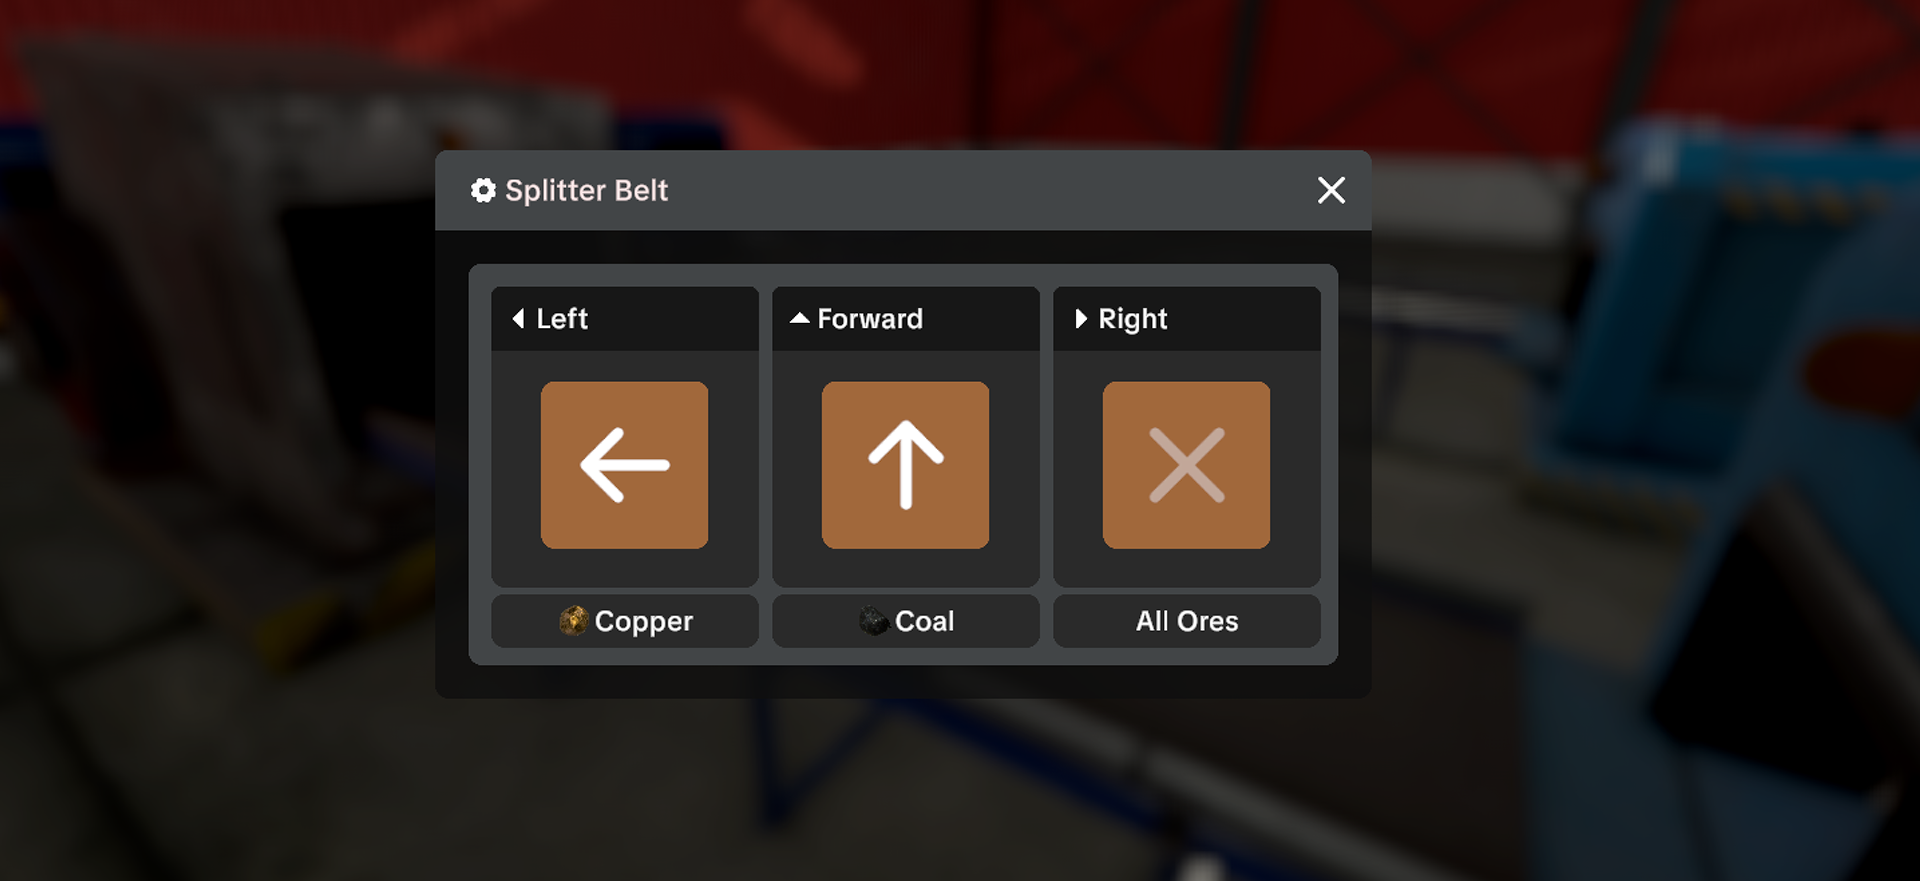
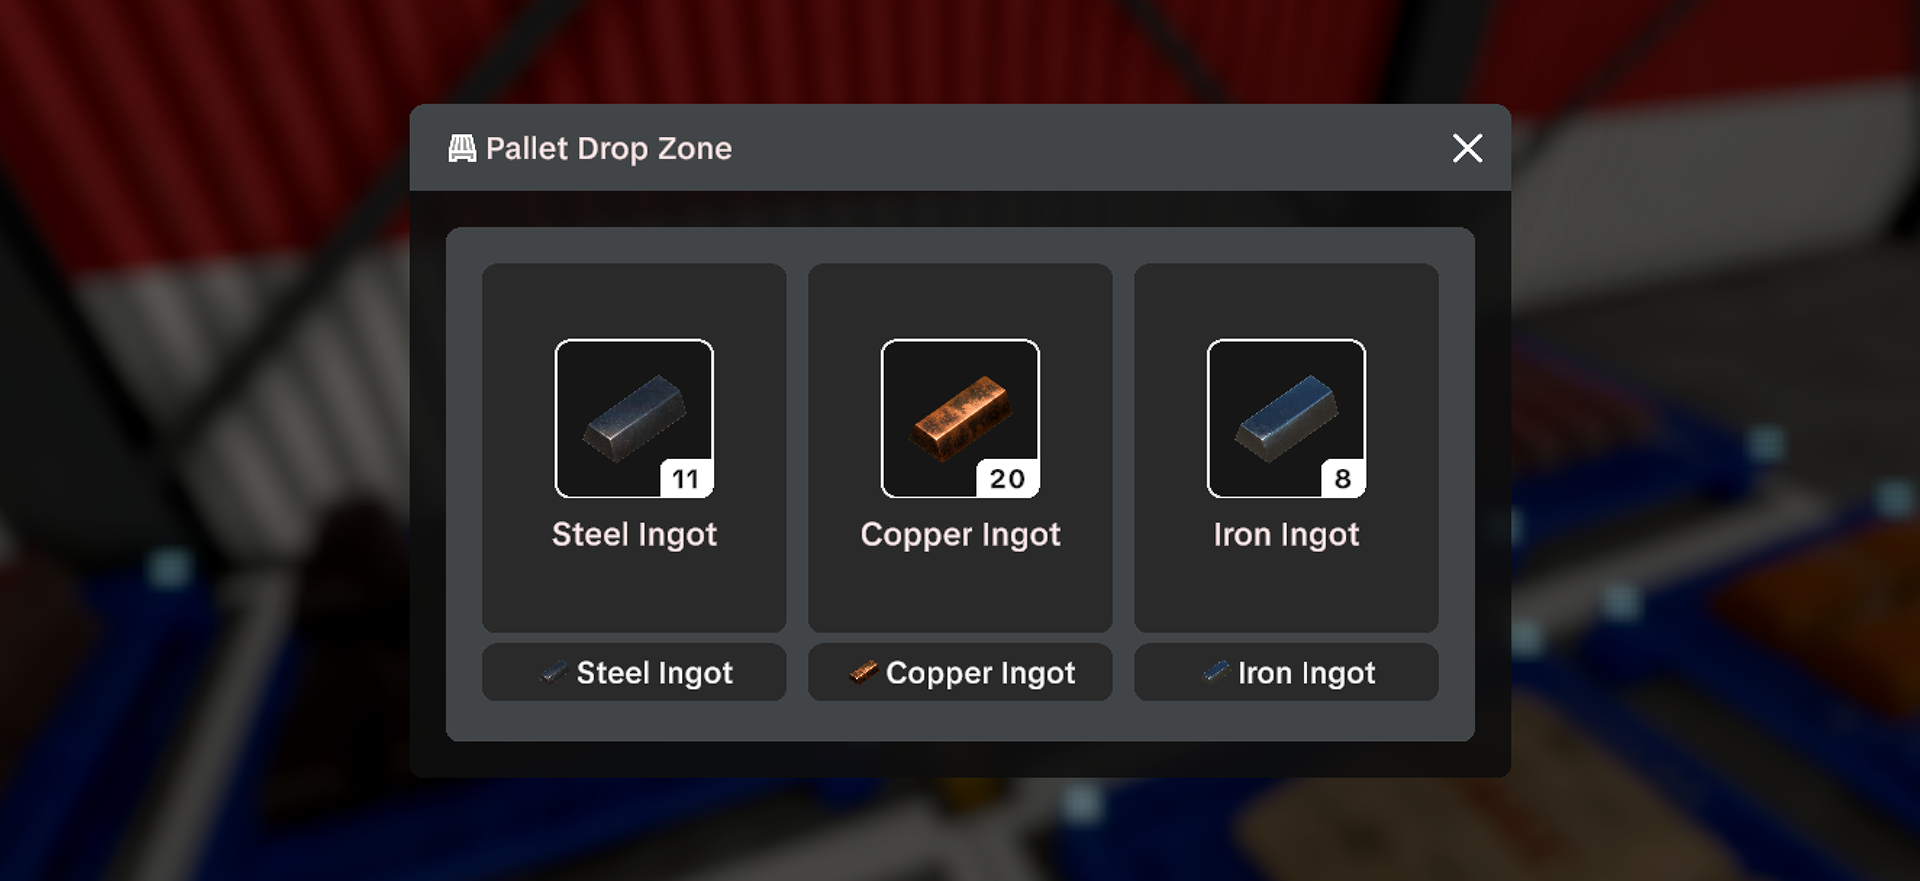
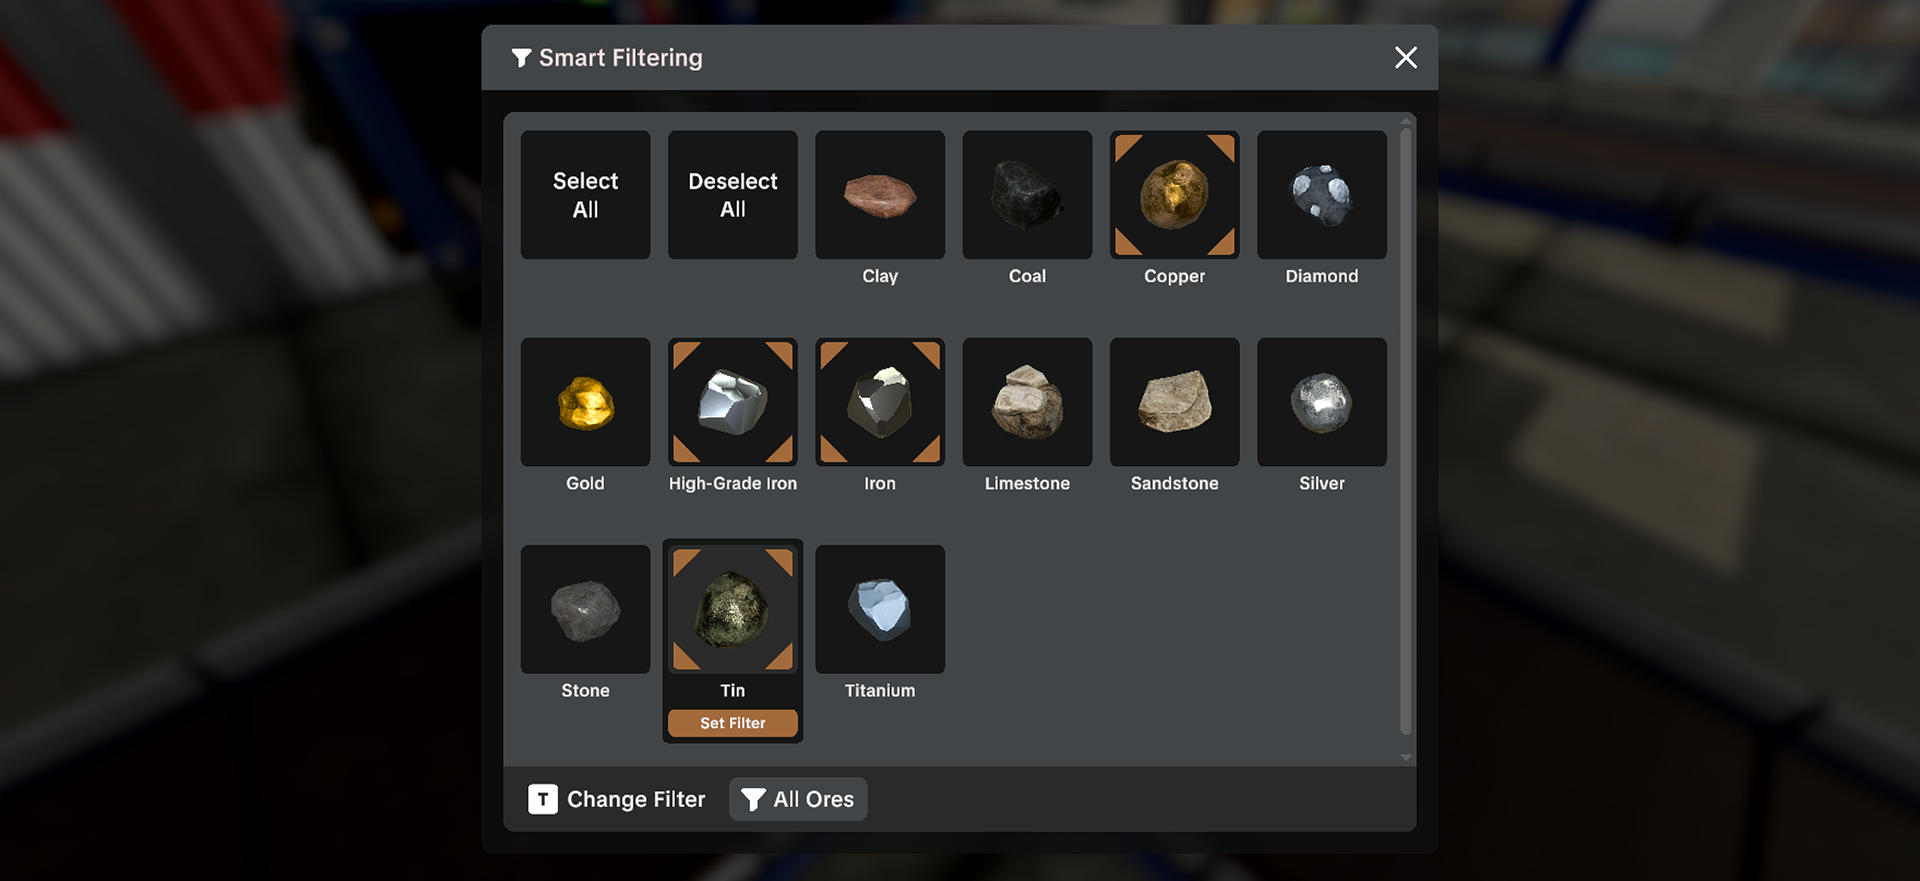
v1.0.5 introduced Smart Filtering. v1.0.6 reworked it into a toggle-based system and changed routing priority:
- each Splitter Belt output can be configured separately;
- an output can target a specific item or an item category;
- Pallet Drop Zones expose slot-based filters;
- different resources can be allowed or blocked on each direction or slot;
- an unfiltered output no longer takes priority when a specific filter exists;
- Warehouse Robots prioritize filtered Drop Zones more correctly.
Use the options shown by the current machine instead of copying a fixed ratio from an old layout. The patch notes do not establish a universal 50/50 or 33/33/33 throughput rule, and they do not confirm a formal Merger.
Elevated Belts and Buffer Belts are live, and v1.0.9 adds raised Merge, Splitter, and turn pieces. Their presence does not prove a universal layout: add one elevated piece where a crossing or robot lane has an observed conflict, verify that input and output, then add a buffer only where observed bursts are starving or blocking the next machine.
METHODA Reliable Build-and-Test Method
Step 1: Start with one product
Choose one product that your current machines can already make. Confirm:
- the exact raw material or intermediate product;
- the selected recipe;
- where the input is stored;
- where the finished pallet appears;
- whether the output space is clear.
Do not begin with a mixed multi-product trunk line. A small working line gives you a reference when later automation fails.
Step 2: Watch the first complete cycle
After selecting the recipe, remain at the machine until the first correct output appears. Check the pallet label rather than relying on color or shape.
This catches several common problems immediately:
- the wrong recipe is still selected;
- the required resource is missing from Factory Storage;
- an intermediate product was skipped;
- no valid output pallet is available;
- another pallet blocks the output position.
Only increase the queue after one correct product has completed.
Step 3: Reserve physical space around every handoff
Leave clear access around:
- machine inputs;
- machine output pallets;
- Drop Zones;
- Palletizer positions;
- Pallet Packer input;
- Contract Output and Excess Output;
- Forklift approach lanes.
This is not a hidden “two-tile” or “four-tile” formula. It is a practical layout rule: if a pallet or vehicle cannot approach an interaction point, the system becomes difficult to inspect and recover.
Step 4: Add warehouse automation as its own system
The official achievement confirms that these three entities can form a working setup. The grouping below does not claim a universal direction or work order:
[ Palletizer ] ↔ [ Warehouse Robot ] ↔ [ Drop Zone ]
It does not publicly document every UI field, valid target, route limit, or machine-facing direction. Configure only the work orders shown in your current version and test with one pallet before leaving the system unattended.
Do not assume that Warehouse Robots:
- carry loose raw ore;
- feed loose products directly into a Palletizer;
- require batteries or charging stations;
- avoid or prefer illuminated paths;
- use fields named
Pickup TargetandDrop-off Target.
Those details require current in-game verification.
Step 5: Keep contract packaging separate
The Pallet Packer belongs to the contract workflow:
[ Accepted Contract ]
      │
      ▼
[ Correct Finished-Product Pallet ]
      │
      ▼
[ Pallet Packer ]
      │
      ├──► [ Contract Output ]
      └──► [ Excess Output ]
                   │
                   ▼
             [ Forklift → Truck → Delivery Gate ]
Selecting a contract on the computer does not automatically configure the Pallet Packer. Open the machine, select the accepted order, supply the exact finished product, and keep both outputs clear.
END-GAME DIAGNOSTIC // CURRENT PARTS, EDITORIAL ORDER
Test the whole automation loop without hiding the bottleneck
Storage Output → Filter → Merge / Split → Buffer
       → Pallet output → Robot / Packer / Delivery
- Pause extra inputs and identify the first handoff that stops changing.
- Prove the Storage Output with one allowed item.
- Test each Smart Filter branch before reconnecting a shared Merge.
- Use a Buffer to make a backlog visible, then inspect the next output instead of adding capacity immediately.
- Keep the finished-pallet position and robot or Forklift approach lane clear.
- Restore one source or destination at a time until the block returns.
Official patches establish the named outputs, filters, Buffer Belts, raised belt pieces, and Robot priorities. They do not establish this sequence as a universal layout or publish a fixed machine ratio.
FIXTroubleshooting Conveyor and Pallet Bottlenecks
| Symptom | First check | Safe response |
|---|---|---|
| Machine has input but produces nothing | Active recipe, Start state, required stock, output pallet | Correct one condition, then watch the first output |
| Wrong product appears | Recipe or unfinished earlier queue | Stop or finish the queue and select the exact product |
Pallet Packer says Output blocked |
Contract Output, Excess Output, overlapping pallets | Remove the physical obstruction before changing the contract |
| Contract counter does not move | Pallet label and processing stage | Supply the exact finished product |
| Robot setup does nothing | Current work order, compatible pallet, Drop Zone, route | Test one pallet and use only UI options visible in this version |
| A Splitter cannot make the desired route | Current Smart Filter toggles and the exact output branch | Isolate one branch, confirm its allow/block state, then redesign only if the verified filter still cannot make the route |
| Forklift cannot approach a pallet | Parked vehicles, nearby pallets, machine spacing | Clear a straight working lane |
STATUSCurrent Features vs Planned Features
| System | Status on this guide’s verification date |
|---|---|
| Conveyor-based production | Officially current |
| Splitter Belt item/category filters | Introduced in v1.0.5 and reworked in the v1.0.6 release |
| Per-output Splitter routing | Introduced in v1.0.5 and reworked in the v1.0.6 release |
| Warehouse Robot moving pallets | Officially current |
| Palletizer + Warehouse Robot + Drop Zone setup | Officially current |
| Pallet Packer for contracts | Tested in the launch-week build |
| Pallet Drop Zone slot filters | Introduced in v1.0.5 and reworked in the v1.0.6 release |
| Elevated and 45-degree belt routing | Mechanic source: v1.0.6; v1.0.9 later adds raised Merge, Splitter, and turn pieces. No universal clearance is published. |
| Buffer Belt functionality | Current since v1.0.6; no universal capacity, rate, or ideal ratio is published. |
| Robot batteries and charging stations | Not confirmed |
Merger as a formal machine |
Not confirmed |
PLANPractical Automation Priorities
- Make one product reliably.
- Keep its output pallet accessible.
- Confirm the warehouse tracks the finished pallet.
- Separate Stock Sell, contract packing, and warehouse automation.
- Add a second product only after the first route is recoverable.
- Recheck official patch notes before copying a filter-based blueprint across versions.
Automation is successful when you can see where an item stopped and fix that handoff quickly. A smaller observable system is more useful than a “100% automatic” layout built around features that are not in the current game.
FAQFrequently Asked Questions
Can Splitters filter materials now?
Yes. v1.0.5 added output filters and v1.0.6 reworked them into multi-material toggles. Configure the route shown in your current UI and do not infer a fixed throughput ratio from screenshots.
What is the official full-automation combination?
The Full Automation achievement names Warehouse Robot + Palletizer + Drop Zone.
Is the Pallet Packer the same as the Palletizer?
No. The Pallet Packer prepares accepted contract deliveries. The Palletizer belongs to warehouse automation. A later unlock screen also shows a Pallet Dispenser, which is a third distinct entity.
Do Warehouse Robots need charging?
No reliable official or reproducible evidence currently confirms batteries or charging stations. Do not plan around that mechanic until it is visible in the current game.
NEXTRelated Guides
Sources
- Ore Factory Squad official Steam page
- Official v1.1.1 hotfix (current version status)
- Official v1.0.9 raised belt pieces announcement
- Official announcements, patch notes, and roadmap
- Official v1.0.6 Phase 0 Part 2 announcement
- Official v1.0.5 Smart Filters & Safer Squads announcement
- Official Steam achievements
- MakPlayGames4u Merge & Splitter visual walkthrough — auto-captioned historical observation; throughput and current universal-layout claims are excluded.
- MRLAY end-game setup walkthrough — demand context only; the pre-patch filter limitations are not used as current facts.
- Launch-week contract and Pallet Packer test